
-
Step 1: Add Staff and Customise Settings
-
Step 2: Setup dispense integration
-
Step 3: Install on all computers
-
Step 4: Let your team know, and get trained up
-
Step 5: Import existing special orders and waiting lists
-
Step 6: Know where to go for more guidance and support
-
Step 7: Enjoy your new and improved systems!
To get started, it can be helpful to pre-add all your team members from the get-go so they can start using Quda straight away. The below video explains how to do this, as well as customise your Terminal Settings depending on the computer and your preferences.
Within standard business hours, we endeavour to reach out to new pharmacies ASAP after they first install and create their account to aid in setting up dispense integration.
If you're getting setup outside of business hours (and/or are keen to give it a crack yourself), feel free to click on the one of the below buttons to be shown how to easily integrate the Pharmacy Halo Hub with your specific dispense software.
Alternatively, you can click on the Request Setup help from Pharmacy Halo button inside the Hub Settings > Dispense Integration screen, which will ping our team to reach out to you ASAP.
As we pride ourselves on not restricting users with a maximum computer limit and don't have additional 'per-terminal' fees, we encourage you to install the Pharmacy Halo Hub on every computer in the pharmacy. This way, you can access Quda from anywhere at anytime.
As a reminder on how to download and install Quda, head to the homepage of our website (www.pharmacyhalo.com.au), click on the big Download button, and then follow the prompts.
Be sure to tick the Remember Me box as you login on each computer as well so you can save yourself from the embarrassment of forgetting the password in a weeks time.

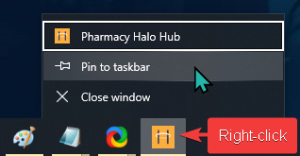
It's also handy to right-click on the Pharmacy Halo Hub in your taskbar (assuming it's open) and click Pin to taskbar so you never have to go searching for it when you need it.
At least one team member should aim to be a Quda Champion of the pharmacy (which may very well likely be you if you're reading this implementation checklist in the first place). This will be the person in charge of implementation that can also answer any basic queries that other team members may have as they first learn how to use Quda. This is typically a retail manager, dispensary manager, or pharmacist (or any combination of these).
After letting your team know that you'll now be using Quda for specials orders (e.g., via your team WhatsApp, Facebook group, etc), each staff member should get started by watching our Quda Starter Series of tutorial videos to get a hang of how everything works.
We also have the option for you to Book in a Quda Training using the booking calendar below so we can go through all things Quda in a more personalised 30-minute guided session for key team members.
Aim to convert all your existing special orders (both front-of-shop and dispensary) and waiting list entries into Quda so you can remove your old systems as soon as possible. Manual entry into Quda is the easiest way to do this, and just make sure you get each order up to the same stage it was at in your previous system.

Failing to do away with old systems in a timely manner is the most common source of issues we see in pharmacies implementing Quda, so this is critical!
Trust us - having two systems actively in place at the same time gets very old, and very problematic, very quickly.
If you're ever unsure of how something works in Quda, you'll find lightbulb icons scattered around the place that can be clicked to direct you to the relevant page for that area on our HelpHub.
For example, you might find a lightbulb icon within specific windows (e.g., the Waiting Lists window), or next to specific settings (e.g., the SpeedScan Order and SpeedScan SMS settings within your Hub Settings > Terminal Settings > System Controls) so you can quickly access extra information if you get stuck.
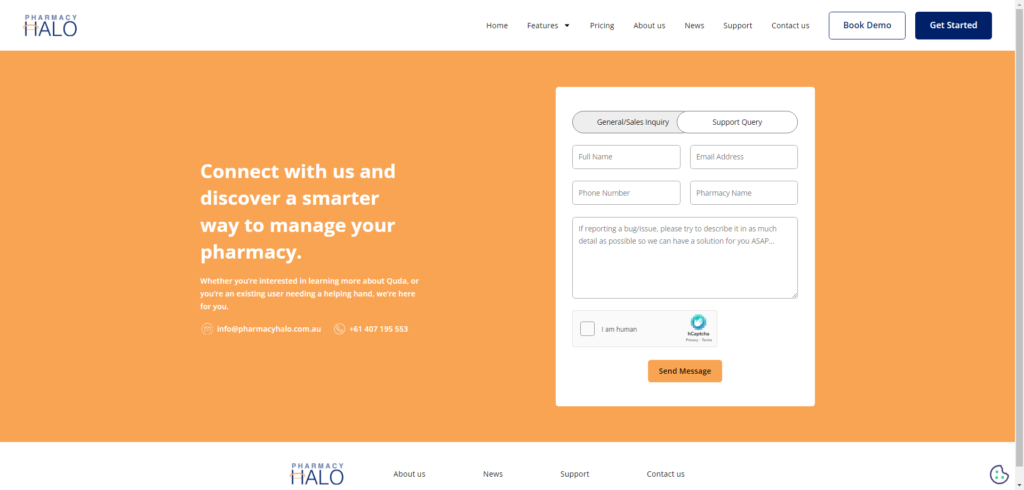
If you ever need to get in touch with us directly - whether it's because you've run into an issue or you'd just like to ask a general question about how something works - you can do so via the Contact Us page on our website and send through a support query to our team.
Seriously - give yourself a pat on the back. You've done yourself, your team, and your community a massive favour by implementing Quda and replacing your old systems. Be sure to mark this day in your calendar next year so you don't forget to celebrate your one year Qudaversary (fine, we might be pushing it with this one).
Please also consider filling out our Quda User Survey using the button below. We're always looking to improve and appreciate feedback we can use to improve our processes and service.