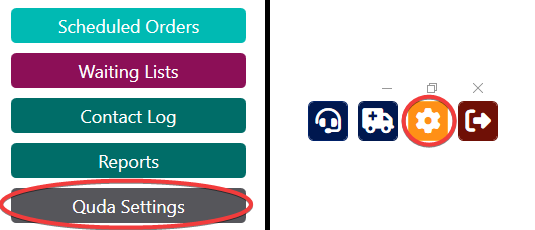
To access and customise your settings in Quda, you can click on either the Quda Settings button in the bottom left of the homescreen, or the Hub Settings gear depending on what you’re after.
For settings that are specific to Quda (e.g., Categories and Locations), click on Quda Settings. For settings/options shared between the various Pharmacy Halo apps (e.g., Staff), click on the Hub Settings gear.
While there's lots of settings that you can customise in Quda (which we'll go through further down this page), there's a few areas that are extra important to go through when you first set things up.
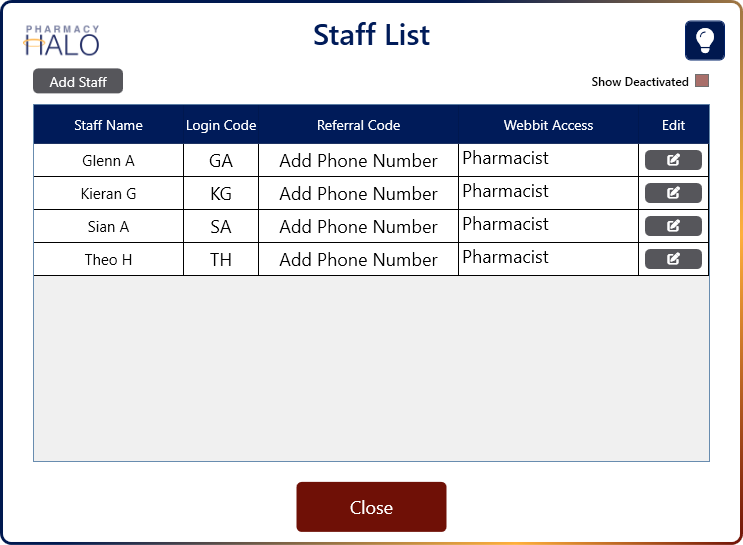
Staff List (available in Hub Settings) This is where you can view, add, edit, deactivate, and reactivate your staff in Quda.
Click the Add Staff button to add a new staff member. You will need to enter their Staff Name along with a Login Code, which is what they will input whenever they perform an action so their involvement can be noted and timestamped. Most users will make this login code either their initials (as is used for dispensing) or till code so it is easy to remember.
You should add in all your staff when you first get setup with Quda so everyone in your team can start using it straight away.
If anyone in your team would like to take advantage of the Quda Connect Referral Programto score some $50 gift vouchers, they will also need to enter in their mobile phone number to generate a referral code. Please note that these phone numbers are strictly used for referral related messaging only – we hate spam as much as you do!
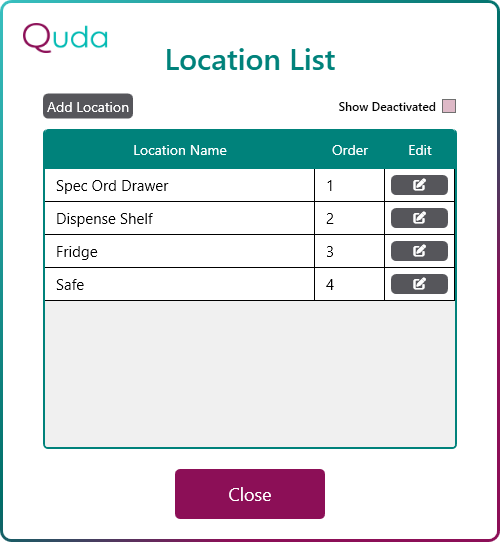
Location List (available in Quda Settings) This is where you can customise the locations available to be chosen at the Receive stage to indicate where a special order has physically been stored in the pharmacy.
This is to make it as easy as possible for your team to know exactly where to look for an item when a patient comes in to collect their special order
You should make sure that your pharmacy’s unique locations are setup properly here when you first get started with Quda.
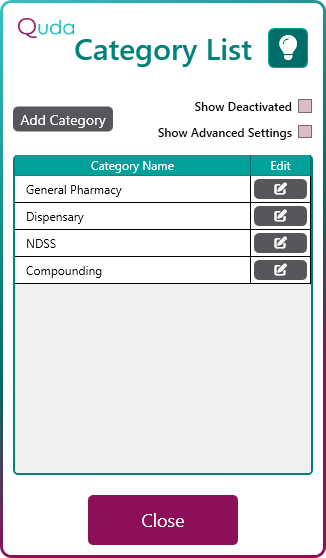
Category List (available in Quda Settings) You can create as many categories as you like and customise them according to whichever settings make the order flow as streamlined as possible. To get you started, we’ve added in some default categories and preconfigured their settings according to what we’ve seen to be most helpful for most pharmacies.
You can also filter special orders by their Category at each stage of the process to make it easier for specific team members to view orders that are relevant to them (e.g., dispensary managers can filter to only Dispensary items, retail managers to only General Pharmacy items, and so on).
After first getting started with Quda, you should add any additonal categories as necessary depending on what you need (e.g., Cannabis, Sleep Apnoea, Naturopath, etc).
In terms of modifying the specifics of each category’s settings (which then get passed onto every special order that you create within that category), you’ll like have a better idea of how to best do this as you start getting comfortable with Quda and learn what process you and your team prefer. As there’s a lot to this that isn’t extremely relevant while you’re first getting started, you can read more about optimising your category settings down the line on our Category Settings help page.
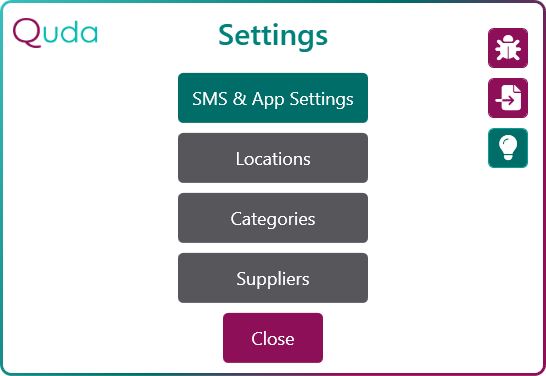
Here's a brief overview of the rest of the settings you can adjust in Quda as well.
SMS & App Settings This is where you can customise many settings that change the way Quda works, including when you’d like SMSs to be sent out, your default selections for special orders (e.g., which Category is selected by default for New Requests), what you’d like your SMS templates to be, and much more. You can read more about this specific settings area here.
Suppliers This is where you can add in frequently used Suppliers that will show in a dropdown list when you start typing into the Supplier field at the Order stage of the special order process (i.e., so you don’t have to manually type out the whole thing every time). You can also setup warning messages to show when a specific supplier is picked too (e.g., “Set ETA as 2 weeks in the future”, etc).